Showing posts with label baking. Show all posts

Wednesday, 1 April 2015

Chocolate-Banana Pancakes without measuring scales!

When I tried to find something to blog about I thought I could try something unique and crazy. Since I love chocolate and I wanted to have a sweet meal, I tried out pancakes. I collected several recipes for pancakes and made my own recipe. The only difference is that the recipe is completely made without measuring scales! It is super easy to make and tastes wonderful. 

You should have most of the ingredients already at home. The amount will serve 2 people. This will make about 6-7 pancakes. Do not underestimate that little amount, it fills a lot!


Ingredients:

Dough:
Milk, Cake Flour, Butter, 1 Egg, 1 pg. Baking Powder, 4 pgs. Vanilla Sugar, Salt


Additional:
2 Bananas, Chocolate Sauce, Whipped Cream

Instructions:

Step 1: First fill a normal sized cup with cake flour and add it into a large bowl. Add the vanilla sugar, baking powder and a half teaspoon salt to it. Mix it until you have a consistency like on the picture without lumps. Create a cradle in the middle.


Step 2: Break the egg into a small bowl. Stir it with a whisk until it has a creamy consistency. Melt 3 teaspoons of butter in the microwave or a pan and add it to the egg. Then add 1 cup of milk to it and stir well. 


Step 3: Now place a medium sized pan onto your oven and turn the heat to 3-4. While the pan is heating up you can prepare the bananas and the plates and finish the dough. Cut the bananas into slices. Add the egg-milk-butter mixture to the dough. Now take a wooden spoon and mix the mixture and the dough with an up and down movement (a little like an 8-roatioan). 


Step 4: When the dough is ready and the pan is heated up, take a crested trowel to portion your pancakes and place it into the bowl. Put a small amount of butter into the pan and coat it. Now it's time for the first pancake. Take half of the crested trowel filled with dough and slowly put it into the pan. Slightly spread it from the middle. Wait 10 seconds (it really depends on your oven if it's ready to flip or not) and poke it with a spatula on the edge. If the dough doesn't stick to it then it's ready to flip. Wait another 10-15 seconds and your first pancake is done.


Step 5: Place your pancakes onto a big plate. Now take one and place it onto the plate you want to serve them on. Add bananas and chocolate sauce on top of it. Take another pancake and repeat until you have 3 pancakes on the plate. Now finish your pyramid with chocolate sauce and surround them with whipped cream. Now your delicious dessert is ready to be eaten!


Hard work, awesome taste :9


This Sunday I tried out a recipe of an American apple pie, based on a video, Frank showed us in class. Even though I’m not a little bit talented in baking, it worked out quite well. It nearly took me half a day to accomplish this mission. I started in the early morning, while my parents were having breakfast and finished when they were taking over the kitchen for preparing dinner.

Let me show you how it works:
First of all there are two separate lists of ingredients. One for the crust and one for the filling
è For the crust you’ll need:
-          500 g flour
-          360 g butter
-          65 g sugar
-          2 tsp salt
-          150 ml cold water


èThe filling:
-          6 apples, peeled and cut into cubes
-          65 g sugar
-          65 g brown sugar
-          ½ tsp cinnamon powder
-          1 tsp lemon juice
-          1 tbsp flour
-          50 g melted butter
-          1 egg beaten with 2 tbsp cream


The video gives a clear description of how to do it the correct way. Here I’m going to list the steps approximately.

1.      Take your mixer by the hand and put all crust ingredients in it except the cold water. While mixing add the water in moderate amounts until the dough is formed to a unique mass.


2.       Form the dough into a ball and cut off a third of it. One piece will be for the crust, the other smaller one for the topping. Flatten both pieces, wrap them up with cling film and place it in the fridge for about 30 minutes. Afterwards roll the larger dough ball with your rolling pin. You can already preheat the oven to 180°C. Roll the dough until it is flat enough to get into the pie pan. The shell has to chill for another 20 minutes.


3.       Now you can start to make the filling. Blend the apple cubes with brown sugar, white sugar, lemon juice and the melted butter. Then fill the pie pan with the mixture. Even now it looks moreish.


4.       The remaining dough hast to be cut into 8 long stripes which you have to place across the top of the filling. To make it look like more creative, you can weave them together. You better cut off the overhanging excess. Brush the edge of the crust and the stripes with the whisked egg wash.


5.       The last thing you have to do is to put it in the oven and let it bake for 60 minutes or so.


In the end it should look like this:


baking bread


My original plan was to eat one whole day like a real Irish woman, but when I started looking up traditional recipes, there wasn't a single vegetarian one among them. Already breakfast seemed like a feast of meat to me, so I cancelled my plans and started looking for Irish pastries, but after my roommate is on a diet, I didn't dare to fill the air with the sweet smell of temptation. And decided to bake bread. Old fashioned, Irish soda bread.


  After some research I found a quite easy, delicious sounding recipe. I needed some googeling to find out what bicarbonate of soda is and where I can get it, and didn't know anything about self-rising flour either (just took the one we had at home). The rest of the instructions were pretty clear. Next challenge was the measuring. I wasn't able to make use of the measuring unit 'ounce', but what a luck I have google... Anyway, I couldn't find a kitchen balance nor a beaker, so I just made 8 ounces one cup. The rest was a piece of cake- some yoghurt, honey and olive oil, salt, bicarbonate and baking powder (although I don't get what's the difference) and voila! 
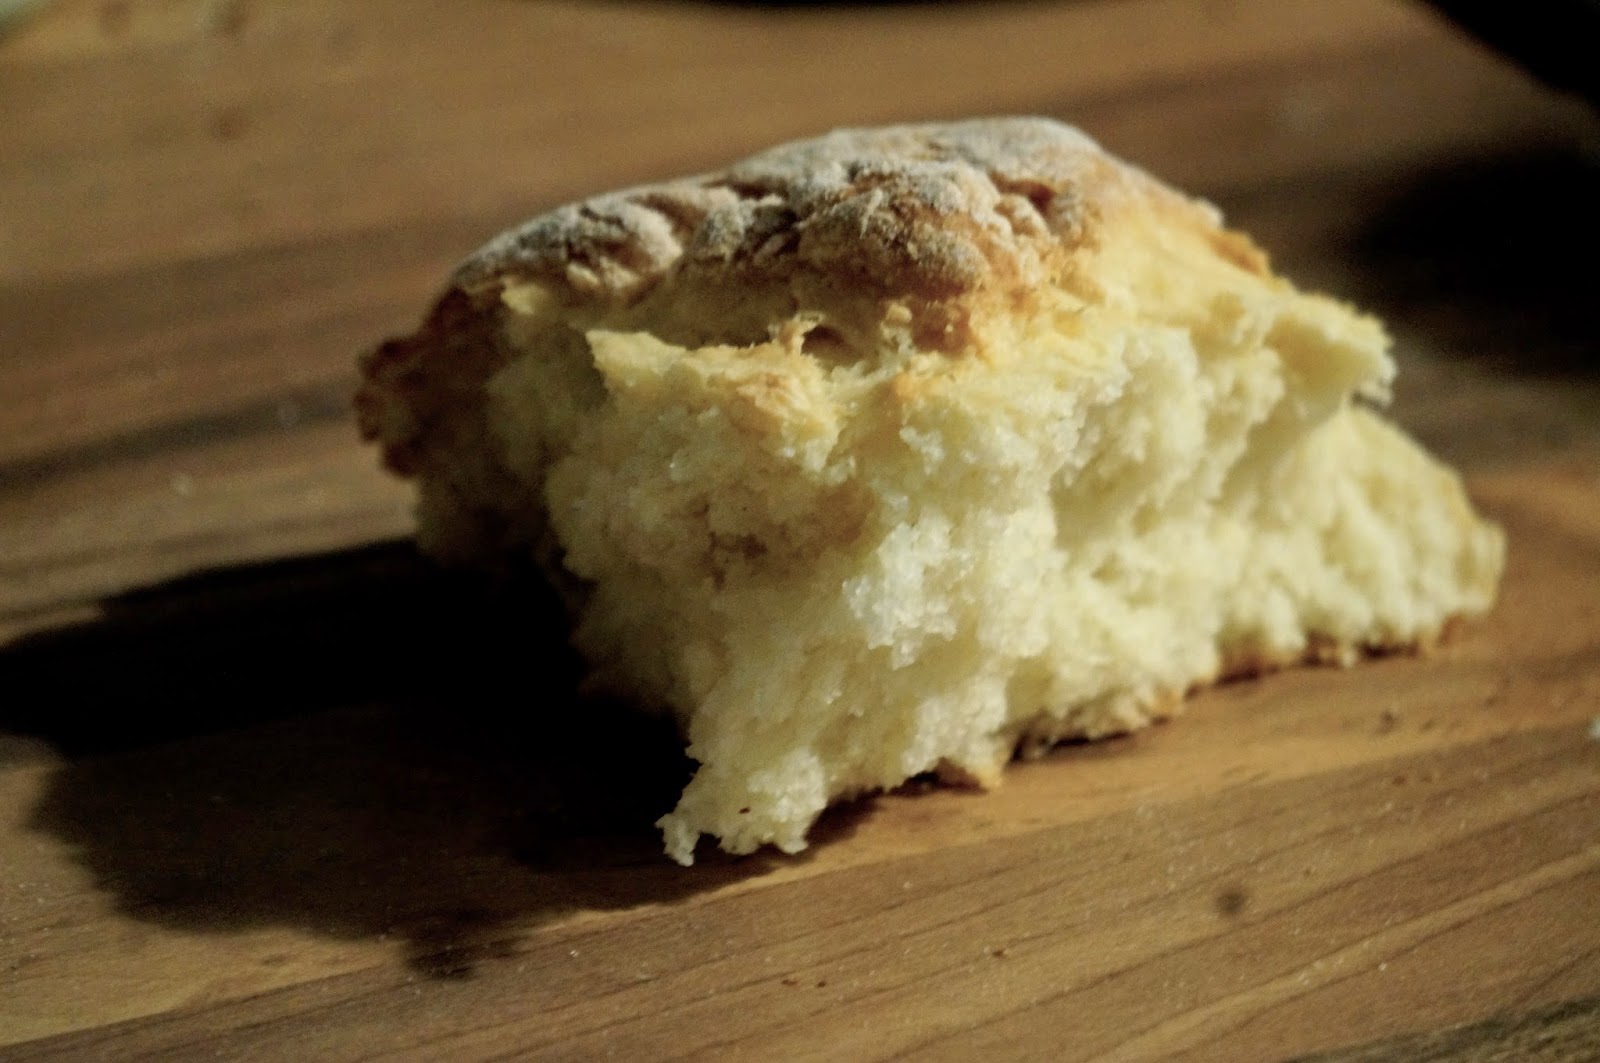
I was supposed to mix everything with a wooden spoon and knead it lightly -20 turns max! Of course I got dough all over the kitchen but it was surprisingly un-sticky. I put my little dough ball onto a baking sheet (couldn't find a cake tin as recommended in the recipe) into the oven and watched the dough rise and the bread crust getting crispy for about 45 minutes (our flat is pretty cold and the oven was emitting heat, so I curled up in front of it and literally watched my bread getting ready). Finally when it had baked long enough I took it out and burned myself trying to eat it immediately- it just looked so jummy! Impatiently I watched it cooling down and finally, it was already midnight, I took the first bite. I was a little dissapointed-it tasted strange. My roommate, who I was sharing with wasn't too stoked eithter. She said 'It tastes a little bit like corn'. And only than I realized that the one flour we had had at home, was cornmeal. May I present, the first corn-soda-bread. An Austrian-Irish recipe!


And that's what you need: two cups of flour, one cup of yoghurt, a little bicarbonate of soda, some baking soda, a spoon of honey and one of olive oil. And a pinch of salt.


yoghurt, honey and olive oil


delicious with butter ;)


Tuesday, 31 March 2015

Baking gone wrong...

So my friends and I have been planning on baking something together for quite some time now, and now that the holidays started we could finally find the time to do so. Since we are quite inexperienced when it comes to baking, we wanted to start off with something rather simple. Luckily, we’re not really hard to please when it comes to sweet stuff and we didn’t really care about what we’re gonna bake as long as there’s chocolate in it. After doing some research we decided on something that sounded just as good as it looked: a nutella-flower.

how it's suppposed to look like

Looks amazing, right? If you’d like to give this beauty a try, just keep on reading. But be warned: it doesn’t taste as sweet and chocolaty as you would expect.

Ingredients
450g flour
180 ml milk
70g sugar
2 eggs
2 teaspoons dry yeast
40g butter
a pinch of salt
1 cup nutella

Directions
  1. Tepefy the milk, mix it with the dry yeast and let it sit for a couple of minutes. In the meantime, melt the butter and blend it with the flour, the sugar and the eggs. Then combine all those ingredients. Finally, add a pinch of salt and start kneading the dough until smooth.
  2. Now separate the dough in four equal-sized parts. Roll one of them into a circle and cover it with a thin layer of nutella. Make sure you heat the chocolate first, that way it’s much easier to spread it on the dough. And: try not to eat all of it before you’re done (I know it’s hard - it looks so delicious!).
  3. Repeat the process with the other three parts of the dough.
  4. When you’re done, cover the cake with a round cake tin and cut the excess dough off to create a nice circle.
  5. Put a glass in the middle of the cake - the inner part should stay as it is. Divide the outside into 16 equal-sized stripes by cutting the dough from the glass all the way to the edge.
  6. Take a pair of these stripes and twist them in opposite directions. Repeat this process with all the stripes.
  7. Let it rest for an hour, then bake it at 175°C for about 30 minutes.

Unfortunately, my friends and I failed miserably. I guess the most difficult part was step 6. It’s hard to keep the nutella from pouring out, so when we were done it was smeared all over the place, making our flower look really messy. Our version of the beautiful, bloomed flower from the internet looked more like a flower that has already started withering. Well, at least we had fun. ;)

our messed up version of a nutella-flower 

English Muffins - Not your typical muffins

I really love having English Muffins for breakfast and I've tried many different recipes, but the following recipe by Laura Vitale is the one that I like best.

English Muffins:

Makes 18 or more, depending on size.
Prep time: 15 mins
Cook time: 15 mins
Ingredients:
2 cups of Whole Milk, scalded


5 cups of Bread Flour
1 Egg
2 Tbsp of Unsalted Butter, melted
2 Tbsp of Vegetable Shortening, melted
2 ½ Tbsp of sugar
1 ½ tsp of Salt
1 tsp of Baking Soda
1 Envelope of Active Dry Yeast,
(2 ¼ tsp) plus 1 tsp of sugar
Cornmeal


Process:
1) Sprinkle the yeast and 1 tsp of sugar over the milk and allow it to sit and foam for a few minutes. Add the shortening, butter and egg to the yeast mixture and whisk together to combine.


2) In the bowl of a standing mixer fitted with a dough hook, add the flour, sugar, salt, baking soda and milk mixture.

3) Mix the dough on low until the flour is incorporated, turn the speed up to medium and knead for 3 to 4 minutes or until the dough is smooth but still sticky.


4) Place the dough in an oiled bowl, cover with plastic wrap, place it in a warm place and allow it to rise for about 2 hours.


5) Dump the dough on a floured surface, knead it together and cut it into 16 equal pieces (if you like smaller English muffins, cut them into 22 equal pieces). Roll each piece into a ball, press them down with your hand to form a patty and place them on a parchment paper lined baking sheet that has been sprinkled with cornmeal.


Sprinkle the top of your patties with a little more cornmeal, cover them with a kitchen towel and let them rise until doubled in size, about 1 hour.


6) Preheat your oven to 160(325°F) degrees Celsius.

7) Preheat a griddle pan to medium, gently lift each round with a spatula, place it on the hot griddle and let them cook for about 2 minutes on each side or until golden brown on both sides (do them in batches) . Place them back on the baking sheet and place them in the oven for 10 minutes.

Allow them to cool a bit before serving.


The finished product:


I prefer eating them warm, even though they are just as good when they are cold. The next morning I usually toast them and spread some cream cheese or butter on them.

By taking pictures of the baking process I've realized how many steps there are to complete the Muffins and I've also learned that no matter how many times I bake something, I still burn myself. ;)


Recipe from: http://www.laurainthekitchen.com/recipes/english-muffins/
Pictures are my own.


Sunday, 29 March 2015

Come Dine with Me - Vegetarian Edition


Hello everybody!

Today I am going to share with you two of my most favourite recipes ever. Since I am a student, nearly all of my favourite dishes are very easy to prepare and do not require any extraordinary ingredients or great cooking skills. I have prepared two different recipes for you, which I have used many times in the past and they have never failed.


Tuna pancakes

Ingredients
1 can of tuna
about ¼ cup onion
1 clove of garlic (optional)
salt
black pepper
1 ts sesame oil (optional)*
1 egg
1 tbs flour
vegetable oil


* This is a Korean recipe, so it requires a few drops of sesame oil. If you do not have it at home, you can replace it with any other oil you like.


Directions

1. Strain out some of the excess liquid of the tuna by using a sieve, a paper towel or your hands and place it in a bowl.

2. Add the chopped onion, minced garlic, the egg, salt, pepper, the sesame oil and the flour to the tuna and mix everything thoroughly. If you have got the feeling that the mixture is not sticky enough yet, you can add some more flour.

3. Heat up your frying pan and add your preferred cooking oil. In my case, I used my beloved peanut oil.


4. Scoop about a spoonful of your tuna mixture and put it in the heated pan. If you distribute the tuna evenly, it should be enough for 6 patties.

5. It is time to turn them over when the bottom is golden brown. The whole process will last about 3- 5 minutes.


6. Transfer the pancakes to a serving plate and serve with rice, salad or potatoes in any way, shape or form. If you use a little more of the mixture per pancake, you can also use it as a vegetarian burger patty.


This is how mine turned out. I personally enjoy my tuna pancakes with some salad and some croquettes. I have also tried them in a burger bun before, but I prefer them plain with some side dishes.  


Buttermilk Blueberry Muffins

This is a recipe that I have been using for many years and I have never followed it very closely. I will give you the whole list of ingredients, but I will give you the instructions for my own, improvised version of it.


Ingredients
2 small apples (can be replaced by any fruit or frozen berries)
250 g of all purpose flour
1 tbs cornstarch (optional)
2 level teaspoonfuls baking powder
½ teaspoon sodium carbonate (optional)
1 packet of lemon peel
1 egg
150 g sugar
100 ml sunflower oil
200 ml buttermilk
30 g raisins


Directions

1. Add the cornstarch, the baking powder, the lemon peel and the sodium carbonate to the flour. I only used the baking powder, so I added that to my flour.

2. Whisk the egg in your big mixing bowl.

3. Add the sugar, the sunflower oil, the buttermilk and your fruit and the raisins to the egg. I did not add any fruit* at that point but I added some vanilla sugar instead. Make sure to add the oil in small portions instead of pouring it in all at once.
*frozen berries are added at a later point in the recipe


When you are finished mixing the batter, it should look similar to this.


4. Add the dry ingredients that you combined together in step one. Like in step 3, do not add the flour in one go. Use a spoon to add smaller portions, so that the batter can mix well. 


5. Put the batter in the paper muffin cases that you have placed in your muffin tray. If you want to make blueberry muffins like me, add the frozen berries now. You might have to push them in a little with the handle of a spoon, since the batter is very thick and creamy.

Tip: Always use two paper muffin cases at once, since one alone does get soaked too easily. Also, try not to overfill the cases - the batter will rise in the oven.


6. Put your tray in the oven for 20-25 minutes at about 347 degrees. You will know that the muffins are ready, when they start to slightly brown around the edges.

Mine turned out very fluffy and moist and my roommates really enjoyed them.


I hope you like my two recipes – if so, leave me a comment, whether you would want to try one of them yourself. I would also appreciate any feedback on how to improve any of the two recipes even further.