When I tried to find something to blog about I thought I could try something unique and crazy. Since I love chocolate and I wanted to have a sweet meal, I tried out pancakes. I collected several recipes for pancakes and made my own recipe. The only difference is that the recipe is completely made without measuring scales! It is super easy to make and tastes wonderful.
You should have most of the ingredients already at home. The amount will serve 2 people. This will make about 6-7 pancakes. Do not underestimate that little amount, it fills a lot!
Ingredients: Dough: Milk, Cake Flour, Butter, 1 Egg, 1 pg. Baking Powder, 4 pgs. Vanilla Sugar, Salt Additional: 2 Bananas, Chocolate Sauce, Whipped Cream Instructions: Step 1: First fill a normal sized cup with cake flour and add it into a large bowl. Add the vanilla sugar, baking powder and a half teaspoon salt to it. Mix it until you have a consistency like on the picture without lumps. Create a cradle in the middle.
Step 2: Break the egg into a small bowl. Stir it with a whisk until it has a creamy consistency. Melt 3 teaspoons of butter in the microwave or a pan and add it to the egg. Then add 1 cup of milk to it and stir well.
Step 3: Now place a medium sized pan onto your oven and turn the heat to 3-4. While the pan is heating up you can prepare the bananas and the plates and finish the dough. Cut the bananas into slices. Add the egg-milk-butter mixture to the dough. Now take a wooden spoon and mix the mixture and the dough with an up and down movement (a little like an 8-roatioan).
Step 4: When the dough is ready and the pan is heated up, take a crestedtrowel to portion your pancakes and place it into the bowl. Put a small amount of butter into the pan and coat it. Now it's time for the first pancake. Take half of the crested trowel filled with dough and slowly put it into the pan. Slightly spread it from the middle. Wait 10 seconds (it really depends on your oven if it's ready to flip or not) and poke it with a spatula on the edge. If the dough doesn't stick to it then it's ready to flip. Wait another 10-15 seconds and your first pancake is done.
Step 5: Place your pancakes onto a big plate. Now take one and place it onto the plate you want to serve them on. Add bananas and chocolate sauce on top of it. Take another pancake and repeat until you have 3 pancakes on the plate. Now finish your pyramid with chocolate sauce and surround them with whipped cream. Now your delicious dessert is ready to be eaten!
Lately, I've been feeling like my life is becoming
more awesome and marvelous every single day - which is very unusual for me
since I normally am the kind of person who starts every second sentence with
the wonderful phrase "I am so pissed off right now because..."
(Alternatively "I hate everything including myself, because..."). I
still am afraid that this may just be a cruel prank God is trying to play to me
and something awful is going to happen in a few seconds (like my boyfriend
turning out to have cancer or BiFi Rolls not being produced anymore).
But I think it's just for the fact that
1) It's Easter and I effing LOVE Easter (a week
ago, I talked to a good friend of mine and since he's a Muslim, I couldn't stop
hugging that poor guy because he has never experienced the magic of Easter on
the countryside)
2) It's spring and I'm totally high on sunlight and
all those hormones. Everything's just so great, dude.
3) Holidays!!
4) My mum gave her old kitchen machine to me, which
has made my life a lot easier.
How could I celebrate this gorgeous life better
than with food? Exactly, there IS no better way. So today I've decided to turn
myself into my own mum and make some strawberry jam and brioches - the
traditional Easter breakfast in my family (no, we're not French, we're just
totally addicted to food. Seriously, take a look at the female members of my
family and this is a pretty obvious fact. And when you think about it, eating
strawberries in March is a remarkably stupid tradition. I mean, that's like
three months before you actually can harvest them in Austria. This jam sure
tastes bitter with guilt because it makes you responsible for climate change).
Okay, get the party started!
The recipe:
(I used this one from Chefkoch.de and translated it)
What you'll need for 12 brioches:
600g (or about 21.16 oz.) flour
200g (or about 7 oz.) butter
1 cube of yeast
4 eggs
3 (or a bit more if you like it sweeter) tbsp.
sugar
1 pinch of salt
9 tbsp. of tepid milk
liquid butter
1 egg yolk
First, dissolve the yeast in the warm milk.
Mix the flour, the sugar and the
milk.
Let the butter melt on low heat, so it doesn't get
very hot. Then add the eggs, the salt and the butter to the dough and knead it together
so it's nice and fluffy. When it's nice and fluffy enough, put it into a warm
place (you can just take your oven and put in on really low heat) until its
volume has doubled.
Then part the dough into 12 balls and every ball
into a big one and a much smaller one. Grease your muffin tray with butter, put
your balls (haha) into the molds and put on the little balls, so it looks like
your brioches are wearing cute little hats (of course it's better if you have traditional brioche molds, but I don't have one, so I tried it with a muffin
tray. If you have proper molds, be proud of yourself and check your
privilege.).
Your brioches will look even more adorable if you
brush yolk on them. Just do it.
Now bake them for 15-20 minutes in your 180°C (or
356 F) hot oven. The original recipe says you should use top and upper heat. As
if my oven even had something like this. HA!
They taste best when they're still warm (which is a
bit creepy because then they feel a bit like actual living creatures in your
mouth), but you can easily store them for a few days. Just put them in the
microwave for like ten seconds and they get hot and fluffy again.
What you’ll need for the jam:
·1.5 kilos (or like 3.3 pounds) strawberries
·500g (or 1.1 oz. canning sugar) 3:1
·Four or five jars
Seriously, this couldn’t be easier. Put the glasses
into the 130°C (or 266F) hot oven for about fifteen minutes to make sure they are perfectly sterile. Cut the leaves of
the strawberries and blend them, together with the sugar. Then put the mixture
into a pot and let it simmer for 7-9 minutes - you now the jam is ready when you put a little bit on a cold plate and it already has this special consistence. Then fill it into your glasses,
close them and turn them around so they stand on their lids. Let the jam cool
off and it’s ready. Honestly, that’s all! Delicious, fruity and simply
wonderful. (check out this pretty cool jelly-related Little Britain video:)
This is what I love so much about food: I just take
a bite of these wonderful little brioches and taste the beautifully red jam –
and I know that this is the language of food: fat, sweet childhood memories and
incredible happiness.
I’m sorry; it’s just those hormones again. Dude.
God, this is so great. PS: Here's your ultimative jam-and-brioches-soundtrack:
Strawberry Fields forever by The Beatles
Jamming by Bob Marley
and, for the French touch, Foux du Fafa by Flight of the Conchords
Like most
of you guys I left town for the Easter Break. Currently, I am in my hometown
Klagenfurt, Carinthia. In this post I will show you what a typical Carinthian
Easter treat looks like and how it is prepared.
The dish I am talking about is
called “Reindling”, a kind of sweet yeast cake baked in a bundt cake pan,
filled with sugar, cinnamon, raisins and sometimes nuts. The strange thing
about the Carinthian tradition is that our sweet “Reindling” is served together
with savory ham, smoked sausages, boild eggs and horse radish. Strangers or
people who did not grow up with this tradition mostly find it disgusting, but
for me it is an essential part of a typical Easter celebration.
So, you can
imagine what keeps me busy the days before the Easter holidays – baking
“Reindling” for family and friends.
If you are
looking for a delicious “Kärntner Reindling” to be part of your Easter meal,
you could follow the instructions below and try to bake one on your own. Enjoy!
For the
dough:
400g of flour (I
usually take half normal, half whole wheat flour)
7g of dry yeast
2 egg yolk
2 tablespoon of honey
a generous pinch of salt
60g of butter
200ml milk
For the filling:
50ml of rum
50g of butter
100g of raisins
100g of sugar
1 tablespoon of cinnamon
100g of finely ground nuts
Actually, you start preparing the dish the day before when you soak the raisins
in plenty of rum.
Next day, mix the
flour with the yeast and salt. Melt the butter in a pot with the milk. Don’t
forget to add the honey and egg yolks as well. When all the fluid ingredients
are melted you can start mixing them with the flour until you get a smooth
dough. Cover the dough with a piece of cloth and let it rest in a warm place
for half an hour. Then roll out the dough so that it is roughly as thick as
your thumb.
mixing the dough
For the filling, melt the butter and spread it on the dough. Mix the sugar with
the cinnamon and sprinkle the dough. Then add the raisins and nuts. After that,
roll the dough up tightly and put it into a greased cake pan. Again, let it
rest for 20 minutes. Then put it in the oven for 50 - 60 minutes at about 180
degrees. After that, take it out of the oven and let it cool.
TIPP: Only turn the
cake out of the pan when it is completely cold to avoid breaking.
This Sunday I tried out a recipe of an
American apple pie, based on a video, Frank showed us in class. Even though I’m
not a little bit talented in baking, it worked out quite well. It nearly took me half
a day to accomplish this mission. I started in the early morning, while my
parents were having breakfast and finished when they were taking over the
kitchen for preparing dinner.
Let me show you how it works:
First of all there are two separate lists
of ingredients. One for the crust and one for the filling
èFor the crust you’ll need:
-500 g flour
-360 g butter
-65 g sugar
-2 tsp salt
-150 ml cold water
èThe filling:
-6 apples, peeled and cut into
cubes
-65 g sugar
-65 g brown sugar
-½ tsp cinnamon powder
-1 tsp lemon juice
-1 tbsp flour
-50 g melted butter
-1 egg beaten with 2 tbsp cream
The video gives a clear description of how
to do it the correct way. Here I’m going to list the steps approximately.
1.Take your mixer by the hand and
put all crust ingredients in it except the cold water. While mixing add the
water in moderate amounts until the dough is formed to a unique mass.
2.Form the dough into a ball and
cut off a third of it. One piece will be for the crust, the other smaller one
for the topping. Flatten both pieces, wrap them up with cling film and place it
in the fridge for about 30 minutes. Afterwards roll the larger dough ball with
your rolling pin. You can already preheat the oven to 180°C. Roll the dough
until it is flat enough to get into the pie pan. The shell has to chill for
another 20 minutes.
3.Now you can start to make the
filling. Blend the apple cubes with brown sugar, white sugar, lemon juice and
the melted butter. Then fill the pie pan with the mixture. Even now it looks
moreish.
4.The remaining dough hast to be
cut into 8 long stripes which you have to place across the top of the filling.
To make it look like more creative, you can weave them together. You better cut
off the overhanging excess. Brush the edge of the crust and the stripes with
the whisked egg wash.
5.The last thing you have to do
is to put it in the oven and let it bake for 60 minutes or so.
My original plan was to
eat one whole day like a real Irish woman, but when I started looking
up traditional recipes, there wasn't a single vegetarian one among
them. Already breakfast seemed like a feast of meat to me, so I
cancelled my plans and started looking for Irish pastries, but after
my roommate is on a diet, I didn't dare to fill the air with the
sweet smell of temptation. And decided to bake bread. Old fashioned,
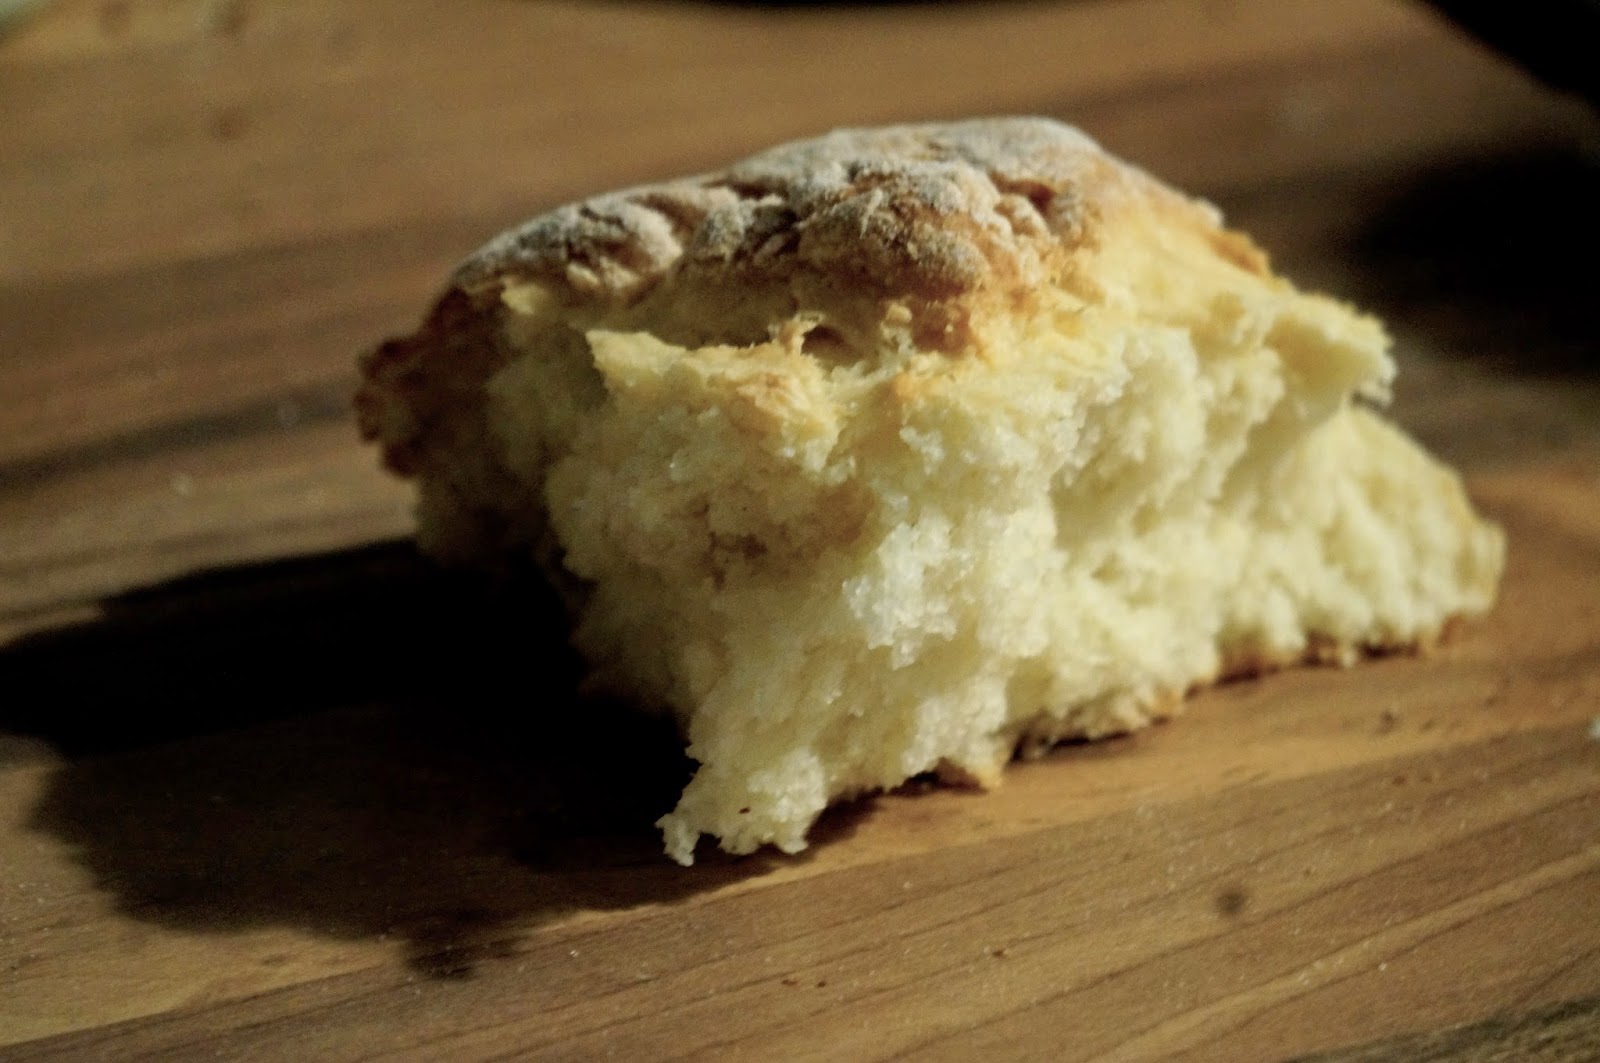
Irish soda bread.
After some research I
found a quite easy, delicious sounding recipe. I needed some
googeling to find out what
bicarbonate of soda is and where I can get it, and didn't know
anything about self-rising flour either (just took the one we had at
home). The rest of the instructions were pretty clear. Next
challenge was the measuring. I wasn't able to make use of the
measuring unit 'ounce', but what a luck I have google... Anyway, I
couldn't find a kitchen balance nor a beaker, so I just made 8 ounces
one cup. The rest was a piece of cake- some yoghurt, honey and olive
oil, salt, bicarbonate and baking powder (although I don't get what's
the difference) and voila!
I was supposed to mix everything with a
wooden spoon and knead it lightly -20 turns max! Of course I got
dough all over the kitchen but it was surprisingly un-sticky. I put
my little dough ball onto a baking sheet (couldn't find a cake tin
as recommended in the recipe) into the oven and watched the dough
rise and the bread crust getting crispy for about 45 minutes (our flat is pretty cold and the
oven was emitting heat, so I curled up in front of it and literally
watched my bread getting ready). Finally when it had baked long
enough I took it out and burned myself trying to eat it immediately- it just looked so jummy!
Impatiently I watched it cooling down and finally, it was already
midnight, I took the first bite. I was a little dissapointed-it tasted strange. My
roommate, who I was sharing with wasn't too stoked eithter. She said 'It tastes a little bit like
corn'. And only than I realized that the one flour we had had at home, was cornmeal. May I present, the first corn-soda-bread. An Austrian-Irish recipe!
And that's what you need: two cups of flour, one cup of yoghurt, a little bicarbonate of soda, some baking soda, a spoon of honey and one of olive oil. And a pinch of salt.
Since I’ve
never stood in the kitchen (to cook anything) at all. I didn’t know what to
post for the “I speak food” blog post. Then after a little bit of brainstorming
I came to the conclusion that I’m going to introduce you to one of my most favorite
meals, the “Carpaccio”. You can order this meal in almost every “Buschenschank”
in Austria and I really feel like it’s typical Austrian, even though it originally
comes from Italia. I think it’s the pumpkin seed oil that gives it that extra
notch.
Ingredients:
125 g filled of beef
leaf lettuce
·Pumpkin
seed oil
1 - 2 table spoon of pumpkin seed oil
50 g pumpkin seeds
Juice of half a lemon
1 table spoon of cide vinegar
1/2 of a garlic clover
Salt & Pepper
Preparations
You
first need to spice the filled with Salt and pepper and wrap it in clear film,
afterwards you put it into the freezer, you could also do this step on the day
before. This way it is easier to cut it
slices.
Clean
and wash the leaf lettuce and carefully drain it.
Peel
the garlic clove and mix it with pumpkin seeds, pumpkin seed oil, lemon juice,
cide vinegar, salt and pepper in a food processor, but not too much!
Unwrap
the filled and cut it in very thin slices.
Cover
a plate with the leaf lettuce and the radishes and spread the slices of the filled
on it, drizzle the pumpkin seed oil pesto over it.
You are
good to go! The best fit for it is a typical farmhouse bread.
I hope at
least some of you try it out and enjoy it ! J
 When I tried to find something to blog about I thought I could try something unique and crazy. Since I love chocolate and I wanted to have a sweet meal, I tried out pancakes. I collected several recipes for pancakes and made my own recipe. The only difference is that the recipe is completely made without measuring scales! It is super easy to make and tastes wonderful.